
How to Fix P0420 Engine Code

July 1, 2026

How to Recaulk a Bathtub

July 23, 2026
Home Improvement

How to Corolize Grout in the Shower

July 22, 2026

Stained, dingy, or mismatched grout can make even a spotless shower look old and neglected. Instead of the time and expense of regrouting, grout colorizing (also called grout staining or grout painting) lets you refresh — or completely change — the color of your existing grout lines in an afternoon. Here’s exactly how to do it.

Why Colorize Instead of Regrout

Regrouting means scraping out all the old grout and replacing it from scratch — a messy, labor-intensive job. Colorizing works with what’s already there: a specialized epoxy-based colorant seals over the existing grout, restoring it to a uniform, fresh-looking color while also making it more water- and stain-resistant. It’s faster, cheaper, and ideal for grout that’s structurally fine but just looks tired or discolored.

What You’ll Need

  • Grout cleaner and a stiff-bristle brush
  • Rubbing alcohol
  • Painter’s tape (optional, for protecting tile edges)
  • Grout colorant or grout paint (epoxy-based options last longest)
  • A small applicator brush or the applicator that comes with the colorant
  • Clean rags or paper towels
  • Rubber gloves
  • Good ventilation (open window or fan)

Step 1: Deep Clean the Grout

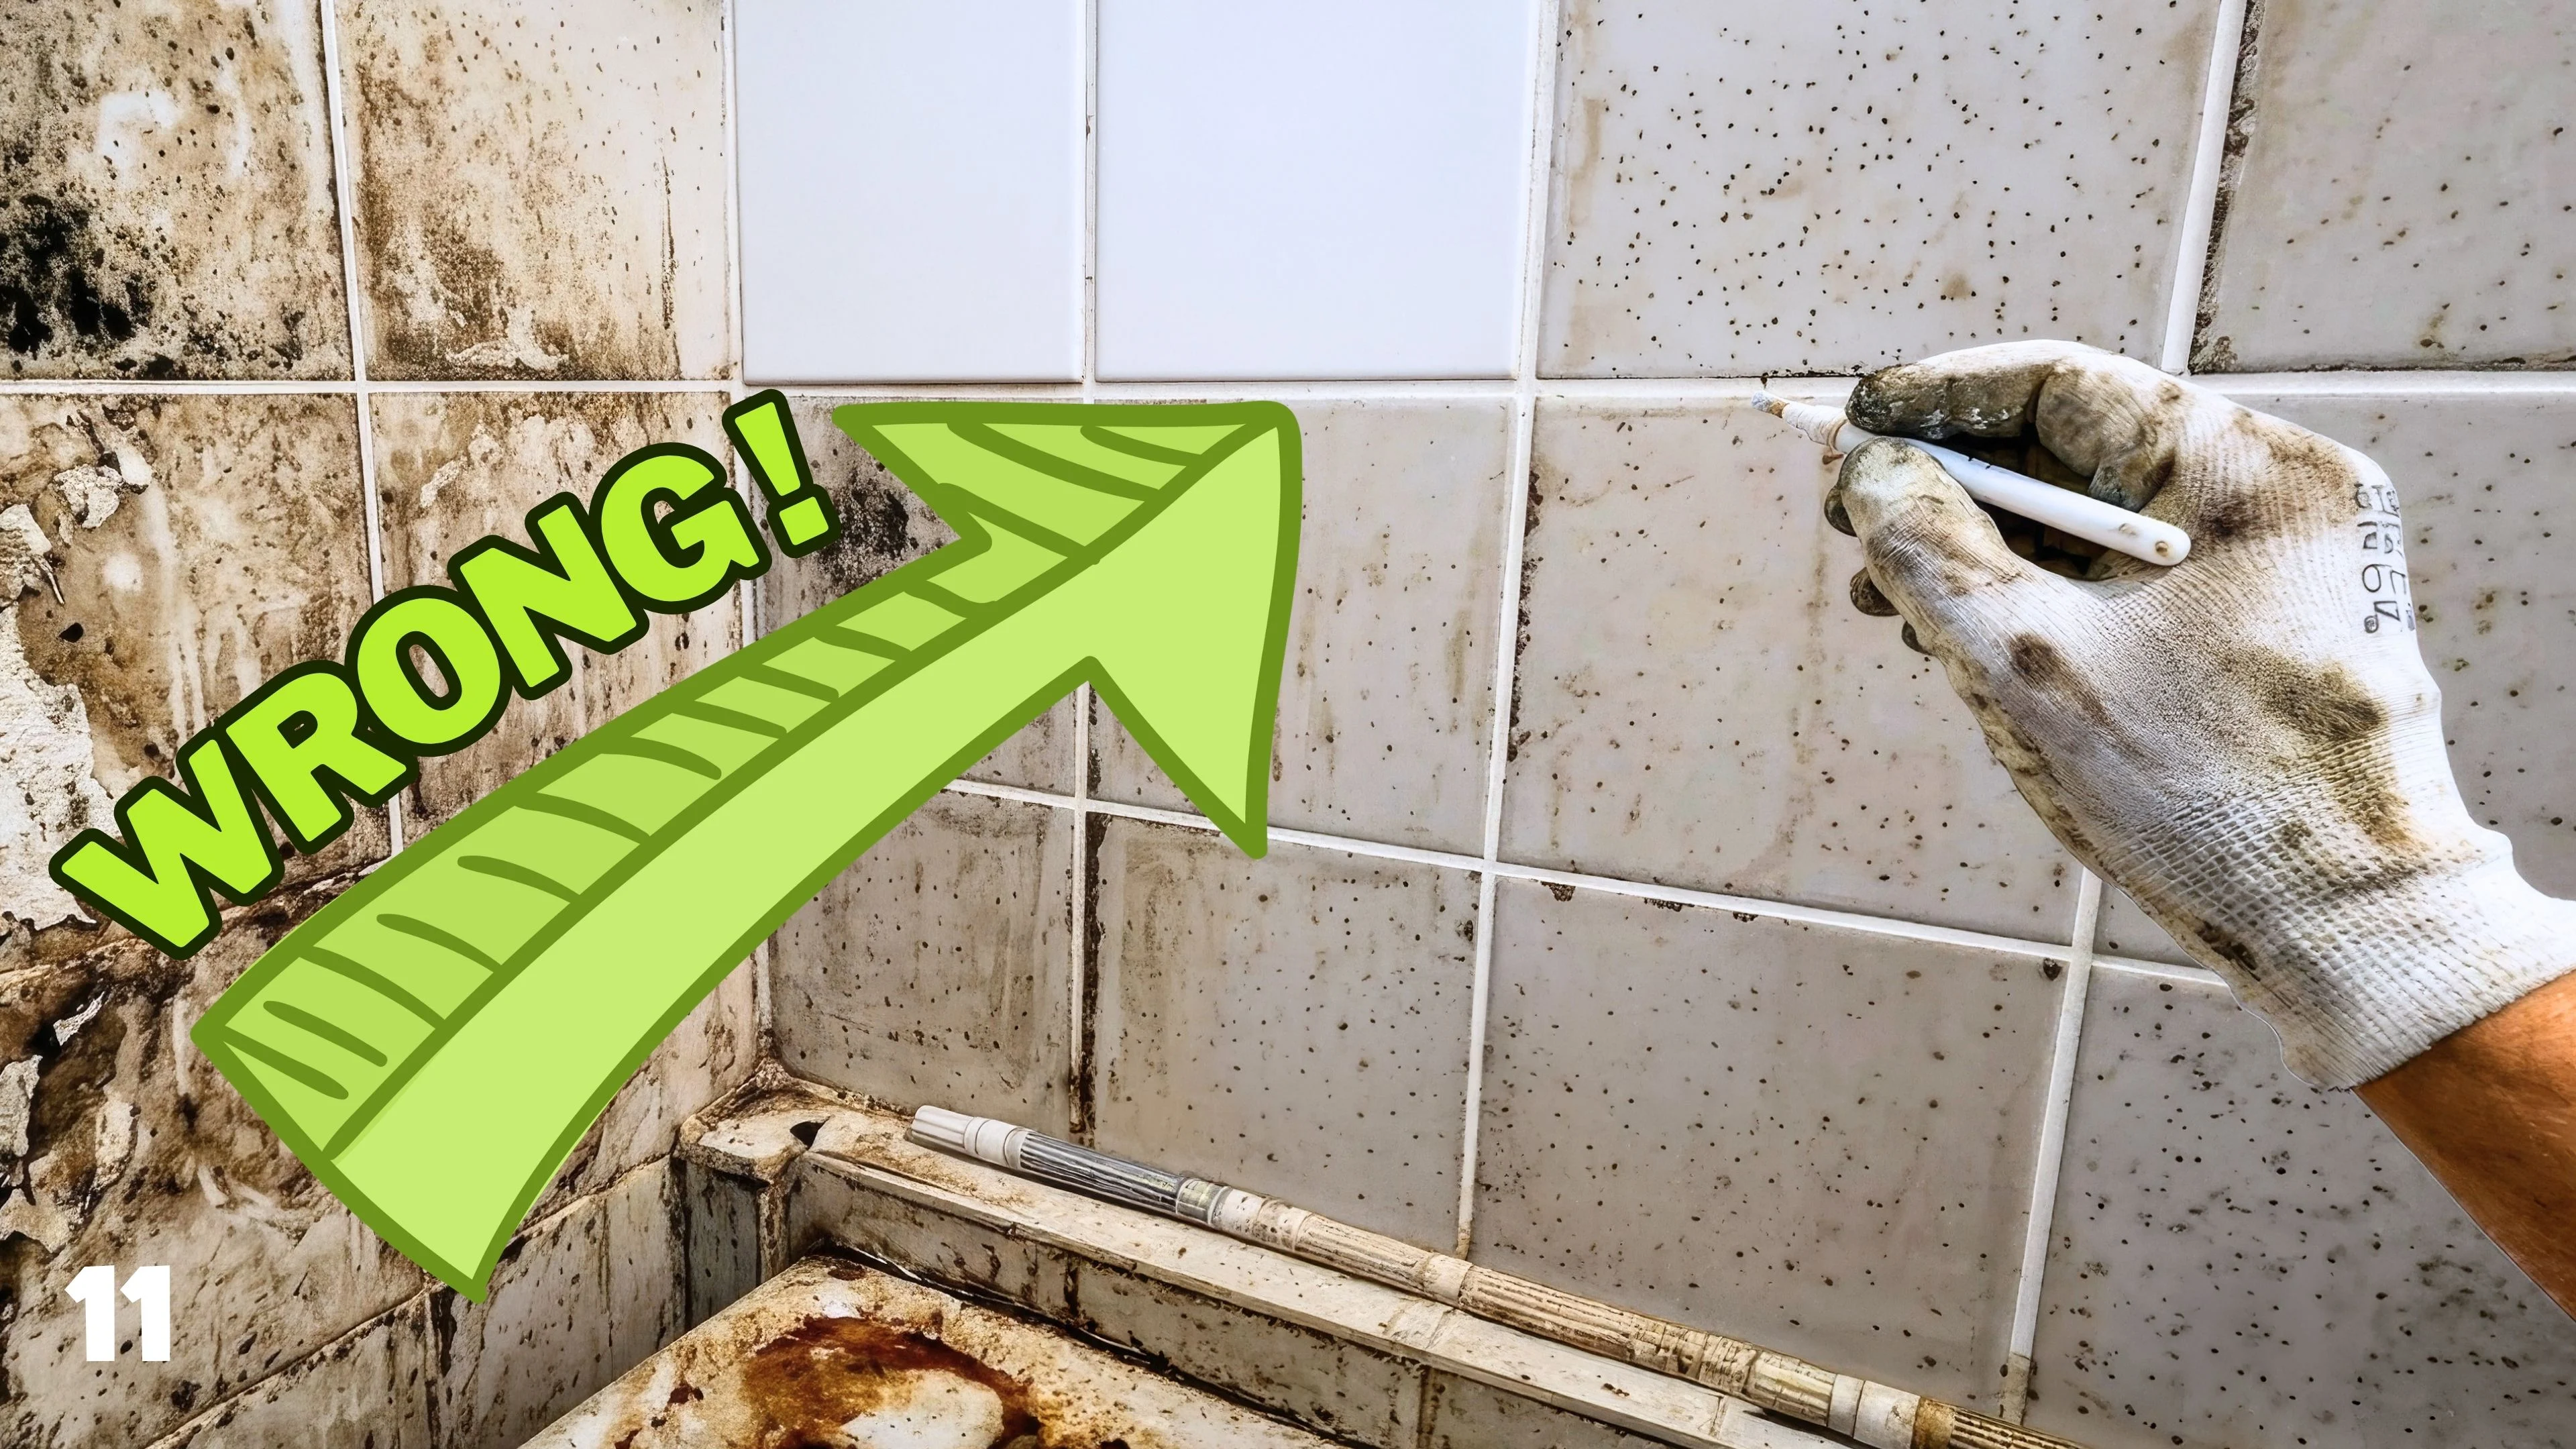
Colorant only looks as good as the surface underneath it, so start with a thorough scrub. Use a grout cleaner and stiff brush to remove soap scum, mildew, and built-up grime from every line. Rinse well and let the grout dry completely — this can take several hours, so plan for it, ideally overnight.

Step 2: Repair Any Damage

Inspect the grout lines for cracks, crumbling spots, or gaps. Colorant is meant to tint and seal, not structurally repair, so patch any damaged sections with fresh grout first and let it cure fully before moving on.

Step 3: Wipe Down with Alcohol

Once the grout is clean and dry, wipe the lines down with rubbing alcohol. This removes any last traces of residue or soap film and helps the colorant adhere evenly.

Step 4: Tape Off the Tile (Optional)

If you want extra-crisp lines or you’re using a colorant that stains tile easily, run painter’s tape along the edges of each grout line. This step takes patience but pays off in a cleaner finished look.

Step 5: Apply the Colorant

Using the applicator brush, work the colorant directly into the grout lines in small sections. Follow the manufacturer’s instructions closely, since application times and techniques vary by product. Most colorants go on opaque and even, covering stains and discoloration underneath.

Step 6: Wipe Away Excess

Before the colorant fully sets, wipe any excess off the surrounding tile with a clean rag. Work in small sections so the colorant doesn’t dry on the tile before you get to it — this is much easier to clean up wet than dry.

Step 7: Let It Cure

Curing times vary by product, but plan to keep the shower dry and unused for at least 24 hours, and sometimes up to 72 hours for full water resistance. Check your specific colorant’s instructions for exact timing.

Final Thoughts

Colorizing grout is one of the most cost-effective ways to make an entire shower look brand new without a full renovation. With a thorough cleaning, careful application, and enough cure time, you’ll end up with grout lines that look freshly installed — and are more resistant to future staining, too.

TOOLS USED IN VIDEO:

RUBBER GLOVES: https://amzn.to/4xNoKQ9

SCRAPER: https://amzn.to/3RQNcjt

EDGER: https://amzn.to/3TyQ6tz

TRAY: https://amzn.to/4wigZAr

MATERIALS USED IN VIDEO:

GROUT CLEANER: https://amzn.to/45hKre5

GROUT COLORIZER: https://amzn.to/4b73kE3

GROUT COLORIZER 2: https://amzn.to/4bDlKMK

MY FAVORITE TOOLS:

EVERYDAY WORKING GLOVES: https://amzn.to/3SNKHyl

SNAP UTILITY KNIVE: https://amzn.to/4uGgNt6 / BLADES: https://amzn.to/3QsZrlu

FOLDING UTILITY KNIVE: https://amzn.to/3QKmSXL / BLADES: https://amzn.to/3Q82u2D

FOLDING UTILITY KNIVE & SCRAPER: https://amzn.to/4viiNZV / BLADES: https://amzn.to/3Q82u2D

CARPENTER PENCIL: https://amzn.to/4uLLGwC

MAGNOGRIP MAGNETIC TAPE MEASURE HOLDER: https://amzn.to/4efD3oZ

BUCKET BOSS UTILITY POUCH: https://amzn.to/4gshCT1

TOUGHBUILT CLIPTECH POUCH: https://amzn.to/3ShQAUn

JUKMO TACTICAL BELT: https://amzn.to/4fTpOvu

PAINTING BRUSH: https://amzn.to/4wgUP1p / https://amzn.to/4xTh92L

PAINT ROLLER: https://amzn.to/4w0Przk / https://amzn.to/4ePMjQQ

BRUSH EXTENSION POLE: https://amzn.to/44gfTJb

BRUSH PAIL: https://amzn.to/43IEp5u / LINERS: https://amzn.to/4a79bZq

How to Corolize Grout in the Shower

MICHAEL

AI is coming for jobs - thousands of them, every single day. And with a crisis looming in the background, things are only getting harder. Money's tight... but homes still break. Pipes still leak. Fences still fall apart. That's why the handyman trade is one of the most crisis-proof careers out there right now. I'm building what I believe is the best course you'll find on how to launch your own handyman business — step by step, from zero to your first paying clients. Want in? Sign up for the newsletter and be the first to know the moment it drops.

Related posts

July 23, 2026
If the caulk around your bathtub is cracked, peeling, or growing mold no matter how much you scrub, it’s time for a refresh. The good news: recaulking a bathtub is one of the most beginner-friendly […]
×