
If the caulk around your bathtub is cracked, peeling, or growing mold no matter how much you scrub, it’s time for a refresh. The good news: recaulking a bathtub is one of the most beginner-friendly home repairs out there. With a few basic tools and about an hour of hands-on time (plus curing time), you can seal your tub like a pro — no contractor required.
Here’s exactly how to do it.
Why Recaulking Matters
Caulk isn’t just cosmetic. It creates a watertight seal between your tub and the surrounding wall or tile, keeping water from seeping behind the surface and causing hidden damage, rot, or mold growth. Over time, caulk naturally shrinks, cracks, and loses its seal — which is why it needs to be replaced every couple of years, especially in a wet environment like a bathroom.
What You’ll Need
- Caulk removal tool or a sharp utility knife
- Rubbing alcohol or a caulk remover solution
- Painter’s tape
- 100% silicone caulk (look for one labeled for kitchen and bath use)
- A caulking gun
- Damp cloth or paper towels
- A caulk-smoothing tool, or just your finger dipped in soapy water
Step 1: Remove the Old Caulk
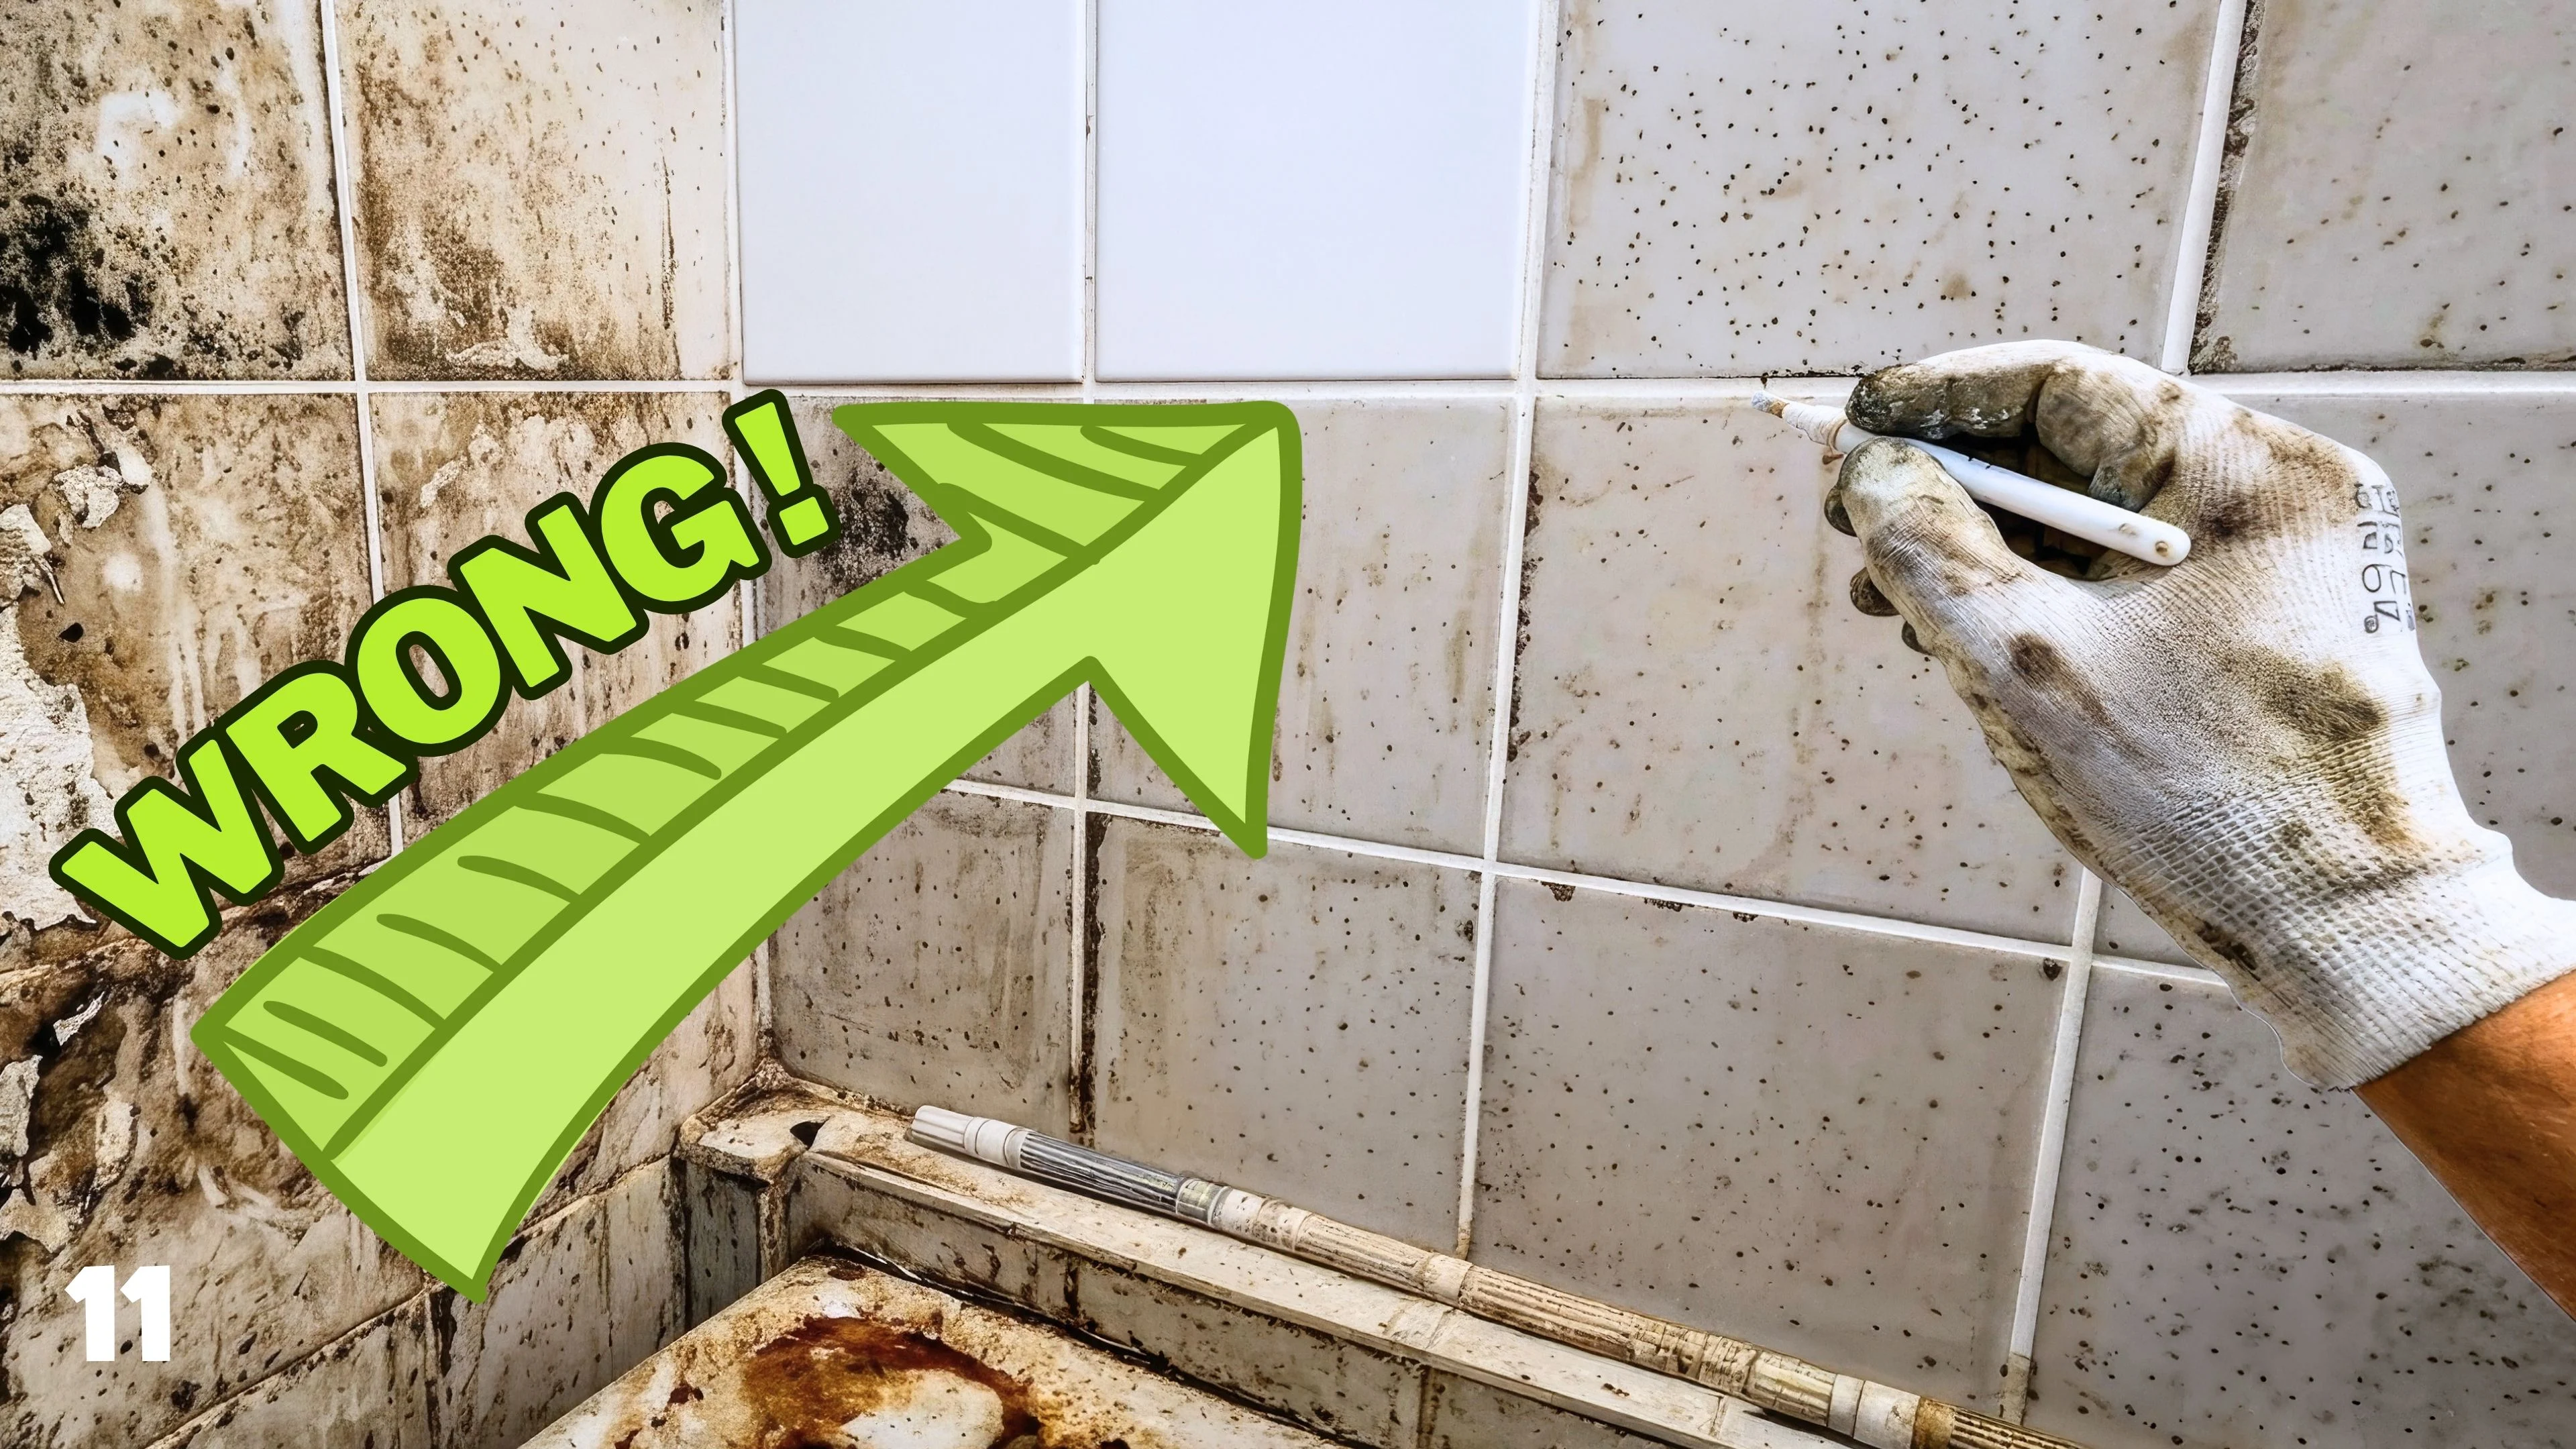
Start by cutting along both edges of the existing caulk line with a utility knife, then pull it away in strips. A dedicated caulk-removal tool makes this easier and reduces the risk of scratching your tub or tile. Try to get every last bit out of the groove — any leftover residue will keep the new caulk from bonding properly. If the old caulk is stubborn, a caulk softener spray can loosen it up first.
Step 2: Clean the Area Thoroughly
Once the old caulk is out, wipe down the entire seam with rubbing alcohol. This kills any lingering mold spores and removes soap scum or grime that’s built up over time. Let the area dry completely before moving on — trapped moisture under new caulk is one of the top reasons mold comes back so quickly.
Step 3: Tape Off Clean Lines
Run painter’s tape along both sides of the gap, leaving just the seam itself exposed. This small step makes a big difference: it keeps your bead straight and even, and makes cleanup dramatically easier once you’re done.
Step 4: Apply the Caulk
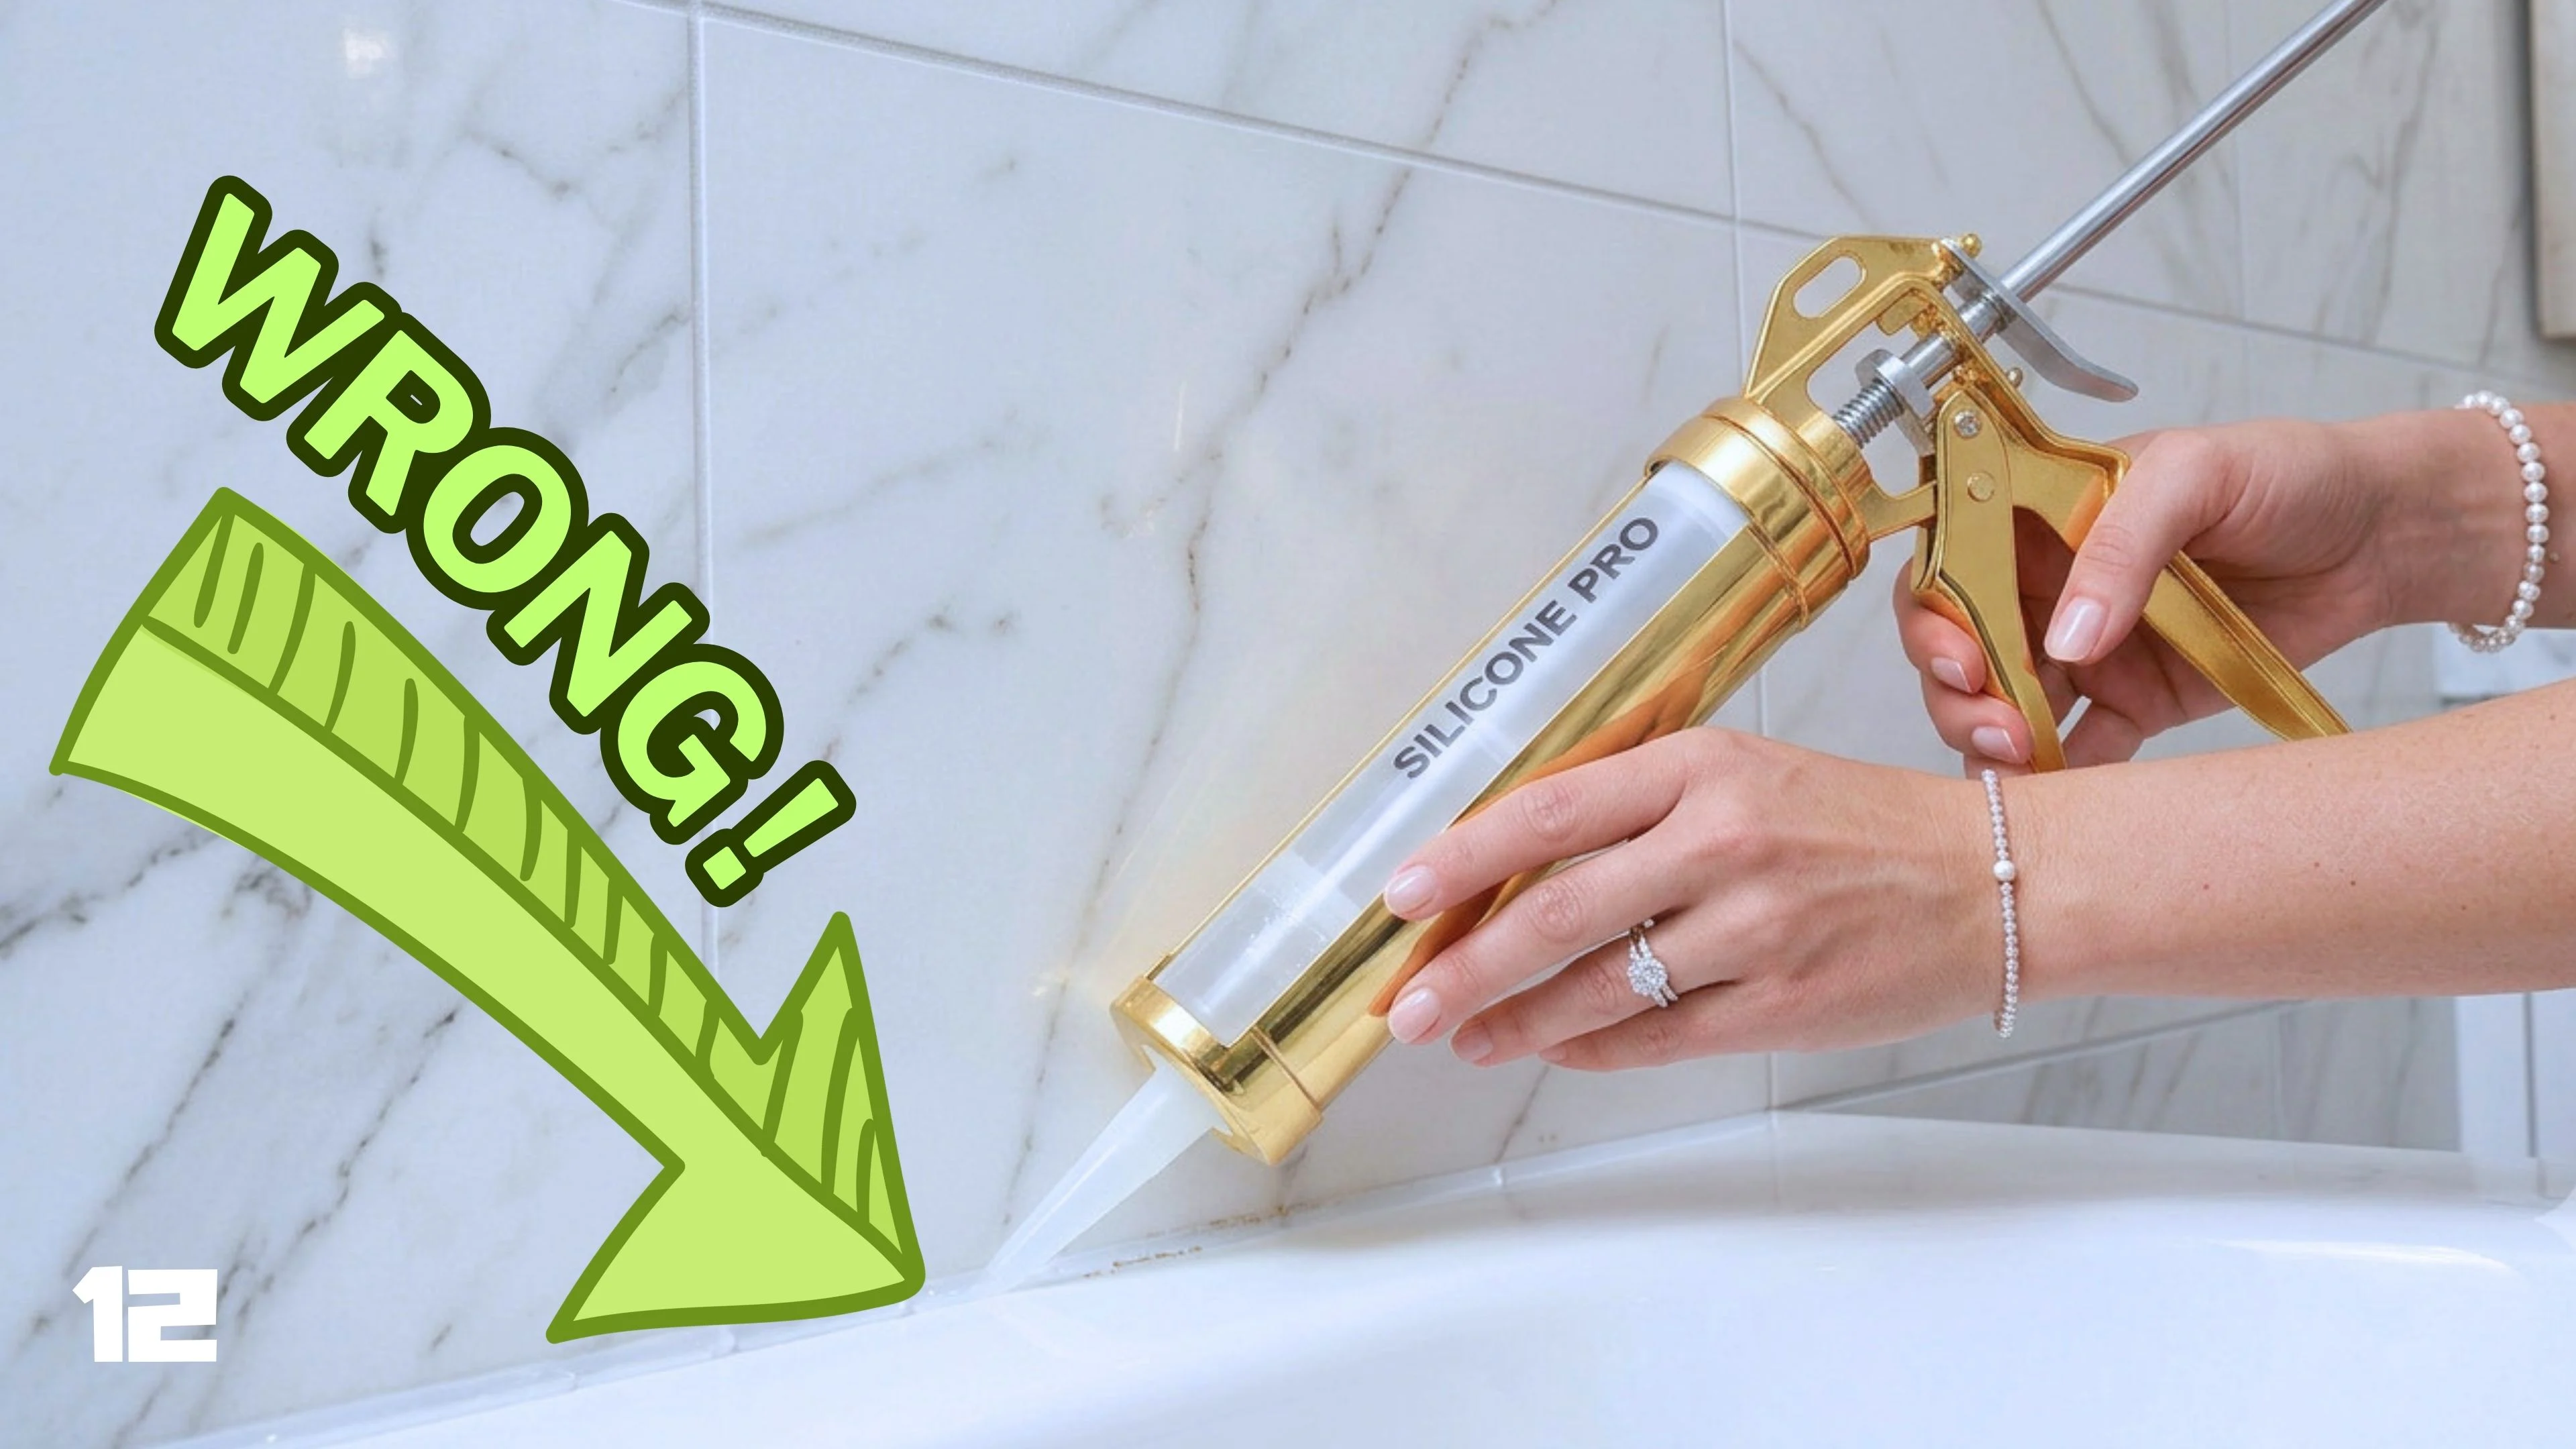
Cut the tip of the caulk tube at a 45-degree angle, keeping the opening small for a thin, controlled bead. Load the tube into your caulking gun and run one steady, continuous line along the seam — try to avoid stopping and starting, which can leave uneven blobs or gaps.
Step 5: Smooth the Bead
Working quickly while the caulk is still wet, run a wet finger or a smoothing tool along the bead in a single motion. This presses the caulk into the gap and leaves a clean, slightly concave finish. Wipe your finger off between passes so you’re not dragging excess caulk around.
Step 6: Remove the Tape
Peel away the painter’s tape immediately after smoothing, while everything is still wet. Pulling it now gives you crisp, clean edges — wait until the caulk dries and you’ll end up tearing the line instead.
Step 7: Let It Cure
This is the step people rush — and shouldn’t. Check the curing time on your caulk tube; most silicone caulks skin over within about 30 minutes but need 24 hours or more to fully cure and become watertight. Avoid touching the area or using the tub until the recommended time has passed.
Final Thoughts
Recaulking a bathtub is a small project that makes a big visual and functional difference. A clean, fresh bead of caulk not only looks like a mini bathroom renovation — it also protects your walls and floors from water damage down the line. Set aside an hour, grab your supplies, and give your tub the seal it deserves.
TOOLS USED IN VIDEO:
SILICON FINISHING TOOLS: https://amzn.to/4baEV0p
RUBBER GLOVES: https://amzn.to/4xNoKQ9
SCRAPER: https://amzn.to/3RQNcjt
SCREWDRIVER: https://amzn.to/4wkiVse
CAULKING GUN: https://amzn.to/45p443O
MATERIALS USED IN VIDEO:
SILICON WHITE: https://amzn.to/45p443O
SILICON CLEAR: https://amzn.to/4vQMVuF
PAINTERS TAPE: https://amzn.to/45m1pIc
TILE CLEANER: https://amzn.to/4baEV0p
MY FAVORITE TOOLS:
EVERYDAY WORKING GLOVES: https://amzn.to/3SNKHyl
SNAP UTILITY KNIVE: https://amzn.to/4uGgNt6 / BLADES: https://amzn.to/3QsZrlu
FOLDING UTILITY KNIVE: https://amzn.to/3QKmSXL / BLADES: https://amzn.to/3Q82u2D
FOLDING UTILITY KNIVE & SCRAPER: https://amzn.to/4viiNZV / BLADES: https://amzn.to/3Q82u2D
CARPENTER PENCIL: https://amzn.to/4uLLGwC
MAGNOGRIP MAGNETIC TAPE MEASURE HOLDER: https://amzn.to/4efD3oZ
BUCKET BOSS UTILITY POUCH: https://amzn.to/4gshCT1
TOUGHBUILT CLIPTECH POUCH: https://amzn.to/3ShQAUn
JUKMO TACTICAL BELT: https://amzn.to/4fTpOvu
PAINTING BRUSH: https://amzn.to/4wgUP1p / https://amzn.to/4xTh92L
PAINT ROLLER: https://amzn.to/4w0Przk / https://amzn.to/4ePMjQQ
BRUSH EXTENSION POLE: https://amzn.to/44gfTJb
BRUSH PAIL: https://amzn.to/43IEp5u / LINERS: https://amzn.to/4a79bZq