How to Install Temporary Roof Anchor

February 11, 2026

How to Fix a Leaking Flat Roof

February 18, 2026
Home Improvement

How to Install Roof Jacks

February 15, 2026

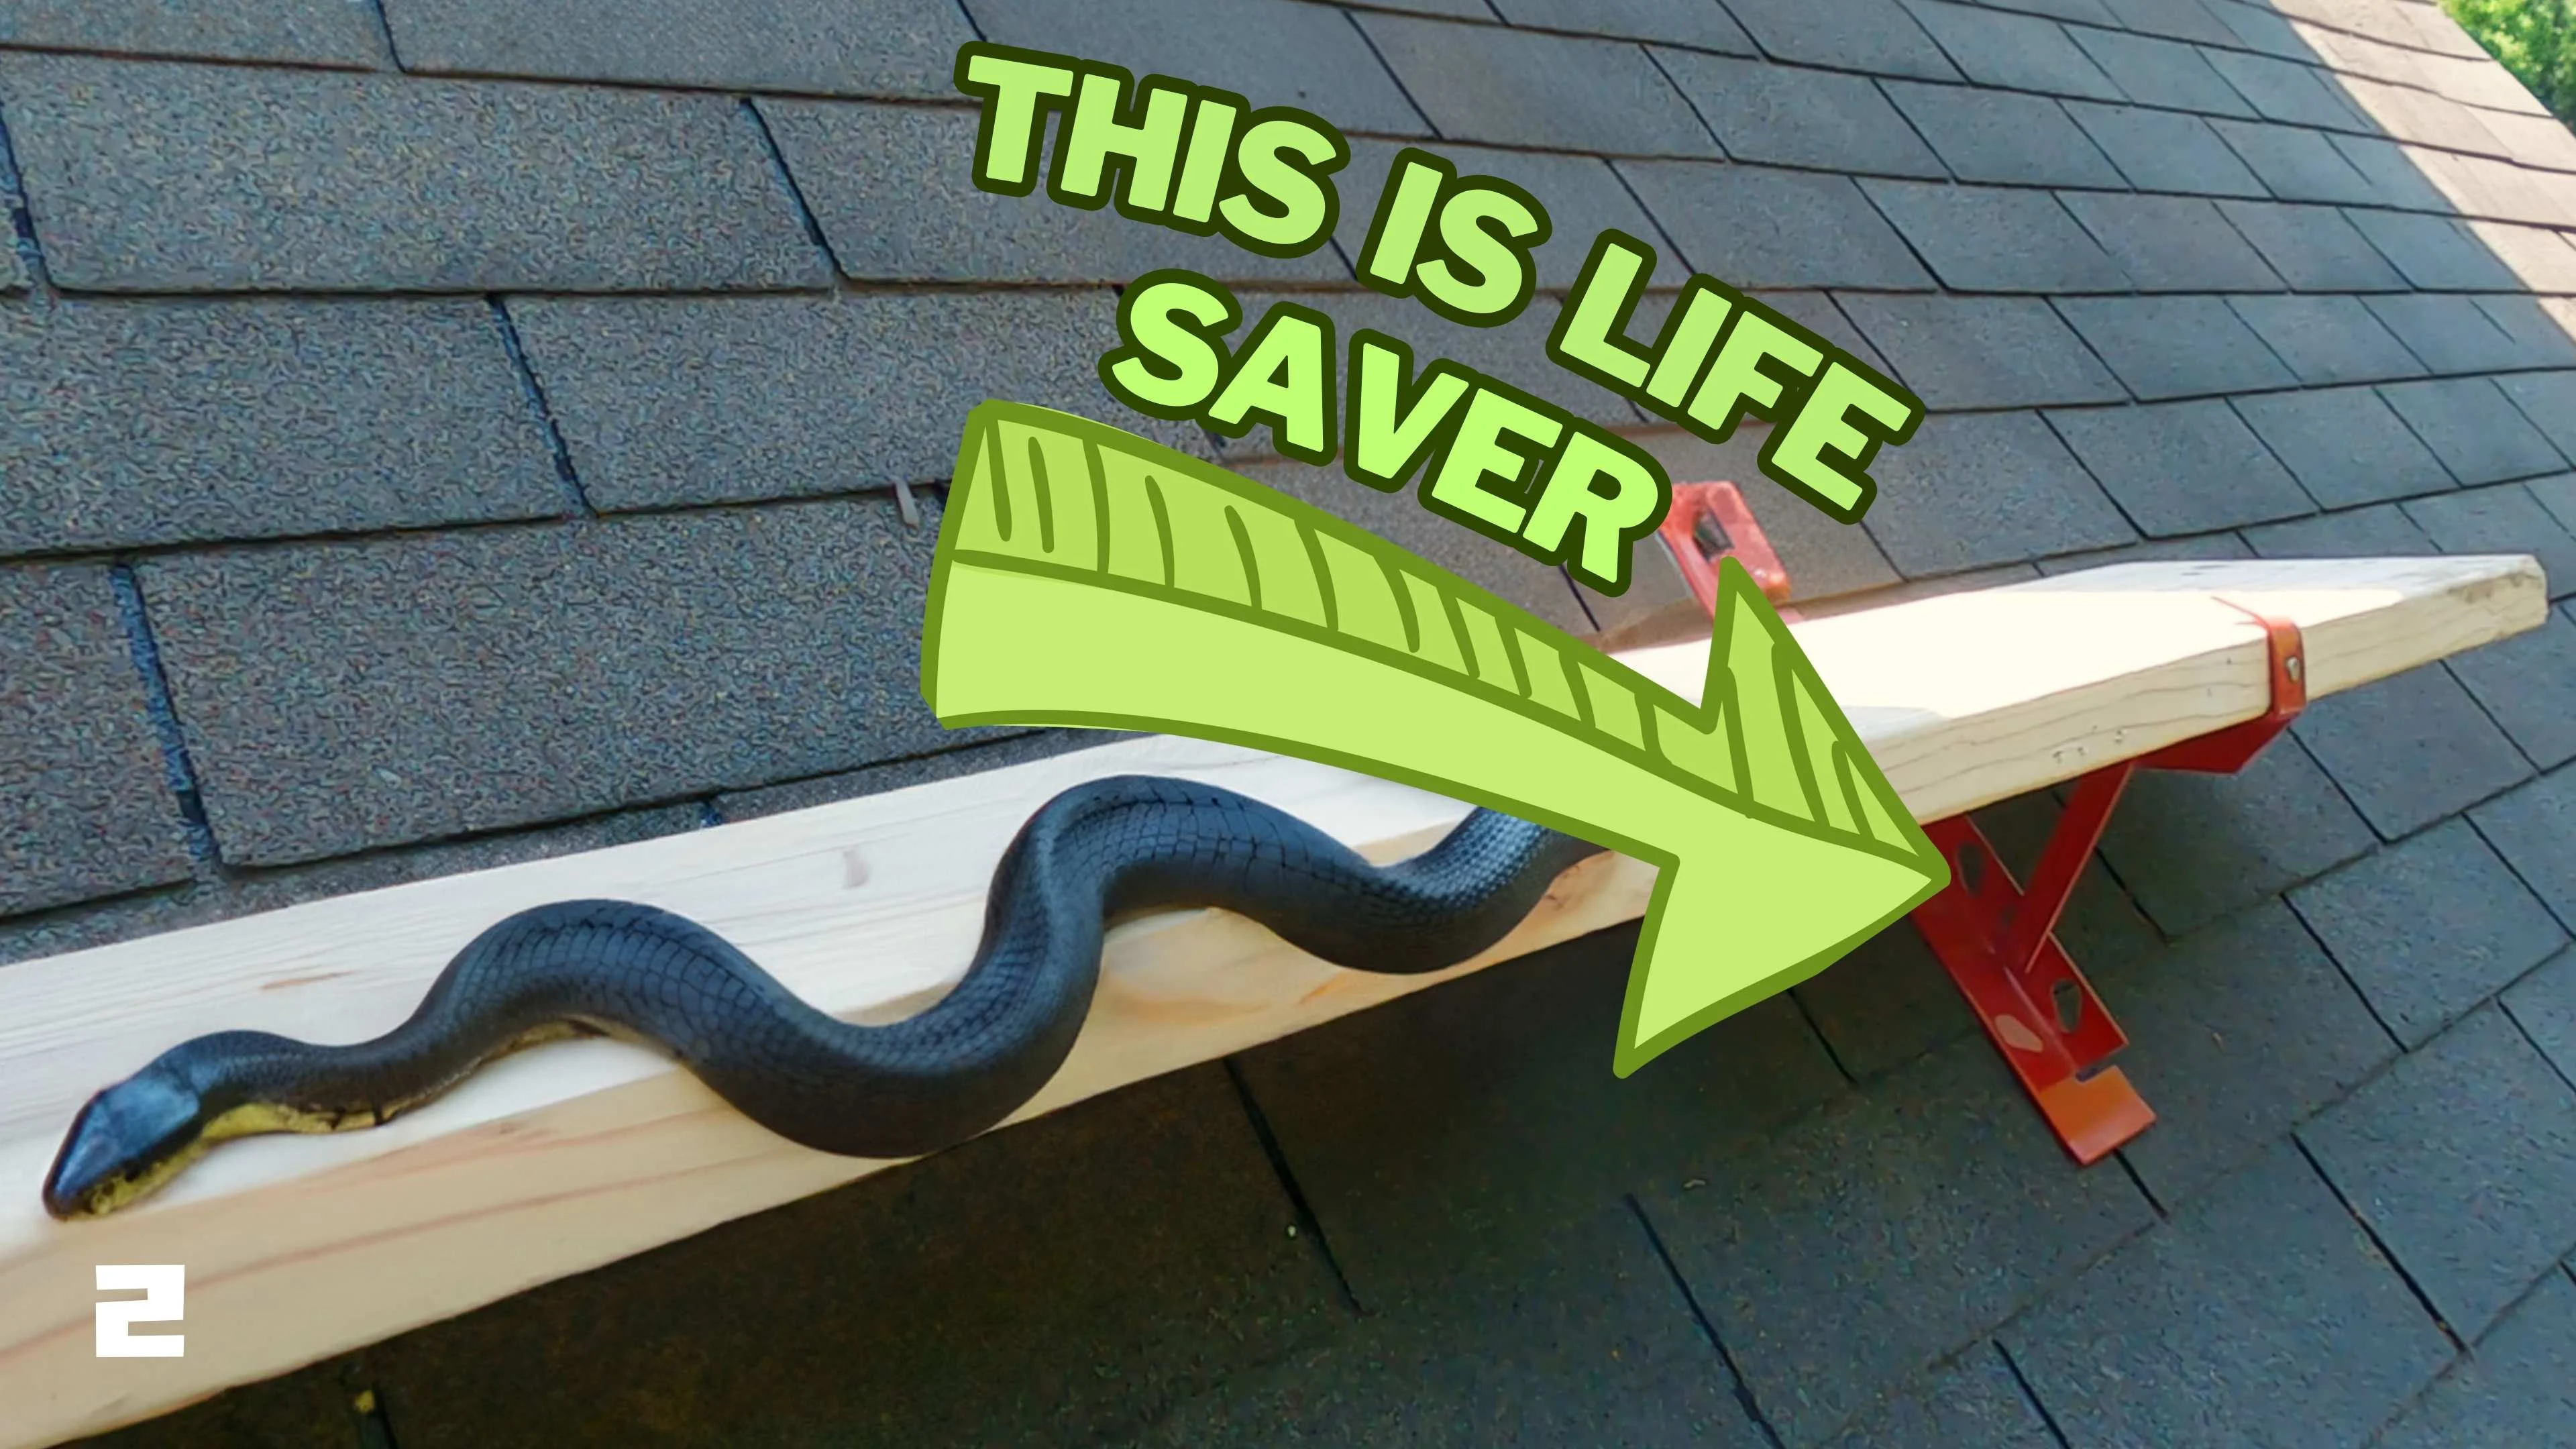
Roof jacks are temporary brackets that hold a plank in place on a sloped roof, giving you a stable, level platform to stand or kneel on while you work. They’re standard equipment for roofing, siding, and gutter work on any pitch steep enough that you can’t comfortably move around freely. Installed correctly, they make a sloped roof far safer to work on — installed poorly, they can fail under load, so it’s worth doing this step carefully.

What You’ll Need

  • Roof jacks (rated for your roof type and the load you’ll be putting on them)
  • Roofing nails (typically 8d or 10d, hot-dipped galvanized)
  • Hammer or nail gun
  • 2×8 or 2×10 lumber for the plank(s), free of knots or splits
  • Chalk line
  • Tape measure
  • Pry bar (for removing jacks later)
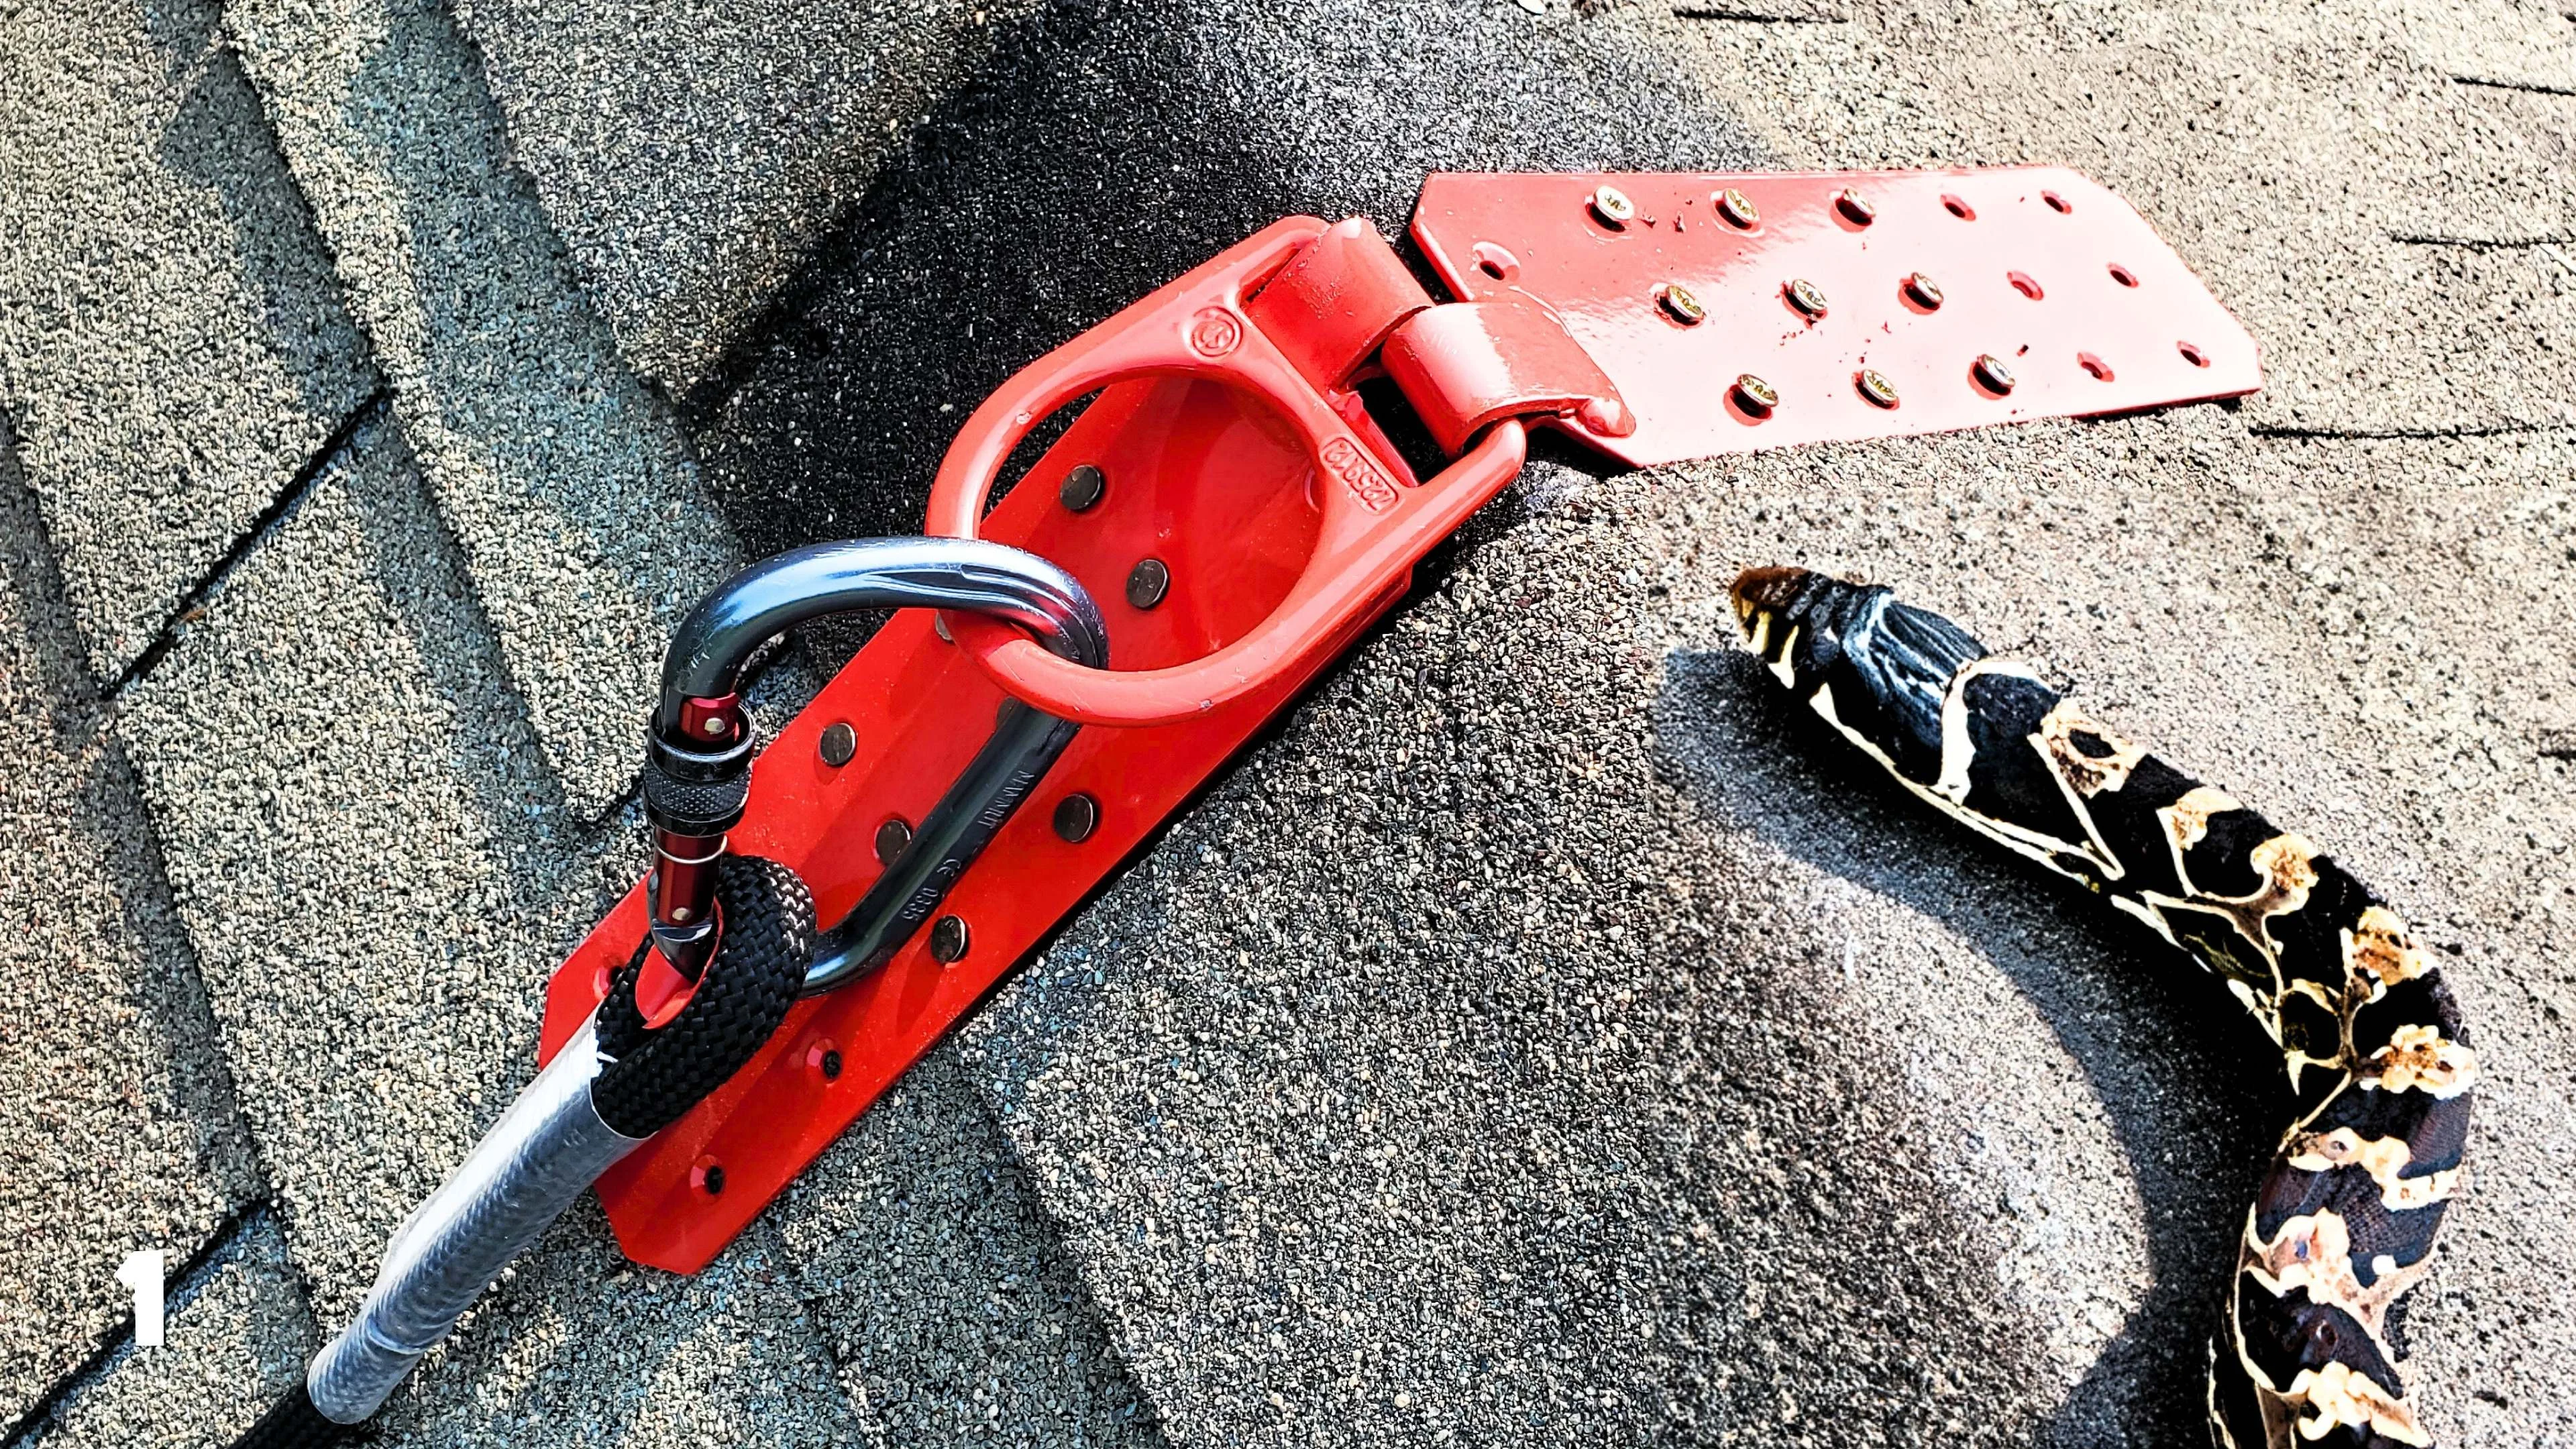
  • Fall protection harness and anchor point (strongly recommended any time you’re working on a sloped roof)

Step 1: Plan Your Layout

Before nailing anything down, figure out how many jacks you need and where they’ll go.

  1. Measure the width of the work area you need to cover.
  2. Space roof jacks no more than 6 to 8 feet apart, closer if you’re using shorter or thinner planks, since too much unsupported span makes the plank flex under weight.
  3. Position jacks so the plank sits at a comfortable working height for the section of roof you’re working on, and plan to move the setup as you progress across the roof.

Step 2: Locate the Rafters

Roof jacks need to be nailed into solid framing, not just the roof deck or shingles, or they won’t hold weight safely.

  1. From inside the attic, measure and mark rafter locations, then transfer those measurements to the exterior roof edge.
  2. Alternatively, use a stud finder rated for roofing use, or look for existing nail patterns from the roof’s original shingle installation, which are usually aligned with the decking edges rather than rafters — so this method is less reliable than checking from the attic.
  3. Snap a chalk line across the roof at your planned jack height to keep the row level and straight.

Step 3: Position and Nail the Roof Jacks

  1. Lift the shingle or shake course where you plan to nail, just enough to expose the roofing felt or deck underneath without tearing the shingle.
  2. Slide the roof jack into place with its nailing slots aligned over a rafter.
  3. Drive roofing nails through each nailing slot and fully into the rafter — this is the connection that will bear your weight, so don’t skip nails or use a rafter location that’s slightly off.
  4. Use at least two nails per jack, or more if your jack has additional nailing slots, for redundancy.
  5. Lower the shingle back down over the nail heads so water sheds over the repair once the jack is removed later.
  6. Repeat for each jack across your chalk line.

Step 4: Set the Plank

  1. Lay your plank across the installed jacks, resting in the lip or slot each jack provides.
  2. Confirm the plank is fully seated in every jack before stepping onto it.
  3. If you’re spanning a long section, check that the plank isn’t undersized for the distance between jacks — a plank that’s too thin or too long between supports can flex or crack under load.

Step 5: Test Before Loading Your Full Weight

  1. Press down firmly on the plank with your hands first, checking that jacks feel solidly anchored and the plank doesn’t shift.
  2. Step on carefully, keeping a hand on the roof or a fixed point until you’re confident in the setup.
  3. Confirm you have fall protection connected to an appropriate anchor point before working from the platform, especially on steeper pitches.

Step 6: Removing Roof Jacks When You’re Done

  1. Remove the plank first.
  2. Lift the shingle covering each jack’s nails.
  3. Use a pry bar to carefully back out the nails, supporting the jack so it doesn’t drop.
  4. Once nails are out, slide the jack free.
  5. Check the nail holes and shingle for damage; seal any exposed nail holes with roofing cement, and replace any shingle that tore during the process.
  6. Press the shingle back down firmly so it lies flat and continues shedding water properly.

Safety Notes

  • Roof jacks are a work platform aid, not a substitute for fall protection. On steep or high roofs, use a harness and anchor system regardless of how stable the jack setup feels.
  • Never exceed the load rating of your roof jacks — check manufacturer specs, especially if multiple people or heavy materials will be on the plank at once.
  • Inspect jacks before each use for bent brackets, cracked plastic components, or worn nailing slots.
  • Weather matters: wet, icy, or windy conditions make jack-supported platforms significantly less safe, even when properly installed.
  • Always nail into structural framing, never just the decking, and never into a rafter that shows signs of rot or damage.

When to Bring in a Professional

  • The roof pitch is steep enough that OSHA fall-protection requirements apply to the work you’re doing (generally anything over a 4:12 pitch for professional roofing work)
  • You’re not confident locating rafters accurately from inside the attic
  • The job involves a large area requiring an extensive scaffold-like jack setup, which may be more efficiently and safely handled by a roofing crew with proper equipment

Roof jacks are simple hardware, but the safety of the whole setup comes down to nailing into solid framing and not overloading the span between supports. Take the extra few minutes to confirm rafter locations and check your plank spacing, and you’ll have a stable platform for the rest of the job.

TOOLS USED IN VIDEO:

ROOFING BRACKETS (USED IN THE VIDEO): https://amzn.to/4fQKGU6

ROOFING BRACKETS #2: https://amzn.to/3ScWN42

ROOFING BRACKETS #3: https://amzn.to/4fLXF9u

MATERIALS USED IN VIDEO:

ROOFING PATCH: https://amzn.to/4vZuYuF

SCREWS: https://amzn.to/4vXrY1V

NAILS: https://amzn.to/4uGL2jW

MY FAVORITE TOOLS:

EVERYDAY WORKING GLOVES: https://amzn.to/3SNKHyl

SNAP UTILITY KNIVE: https://amzn.to/4uGgNt6 / BLADES: https://amzn.to/3QsZrlu

FOLDING UTILITY KNIVE: https://amzn.to/3QKmSXL / BLADES: https://amzn.to/3Q82u2D

FOLDING UTILITY KNIVE & SCRAPER: https://amzn.to/4viiNZV / BLADES: https://amzn.to/3Q82u2D

CARPENTER PENCIL: https://amzn.to/4uLLGwC

MAGNOGRIP MAGNETIC TAPE MEASURE HOLDER: https://amzn.to/4efD3oZ

BUCKET BOSS UTILITY POUCH: https://amzn.to/4gshCT1

TOUGHBUILT CLIPTECH POUCH: https://amzn.to/3ShQAUn

JUKMO TACTICAL BELT: https://amzn.to/4fTpOvu

PAINTING BRUSH: https://amzn.to/4wgUP1p / https://amzn.to/4xTh92L

PAINT ROLLER: https://amzn.to/4w0Przk / https://amzn.to/4ePMjQQ

BRUSH EXTENSION POLE: https://amzn.to/44gfTJb

BRUSH PAIL: https://amzn.to/43IEp5u / LINERS: https://amzn.to/4a79bZq

How to Install Roof Jacks

MICHAEL

AI is coming for jobs - thousands of them, every single day. And with a crisis looming in the background, things are only getting harder. Money's tight... but homes still break. Pipes still leak. Fences still fall apart. That's why the handyman trade is one of the most crisis-proof careers out there right now. I'm building what I believe is the best course you'll find on how to launch your own handyman business — step by step, from zero to your first paying clients. Want in? Sign up for the newsletter and be the first to know the moment it drops.

Related posts

February 18, 2026
Flat roofs are common on additions, garages, porches, and commercial buildings, and they’re prone to leaks in ways sloped roofs aren’t — water has nowhere to run off quickly, so any weak point becomes a […]
February 11, 2026
A temporary roof anchor is a fall-protection point installed on a sloped roof for the duration of a job — roofing, painting, gutter work, chimney repair — then removed once the work is done. Unlike […]
×