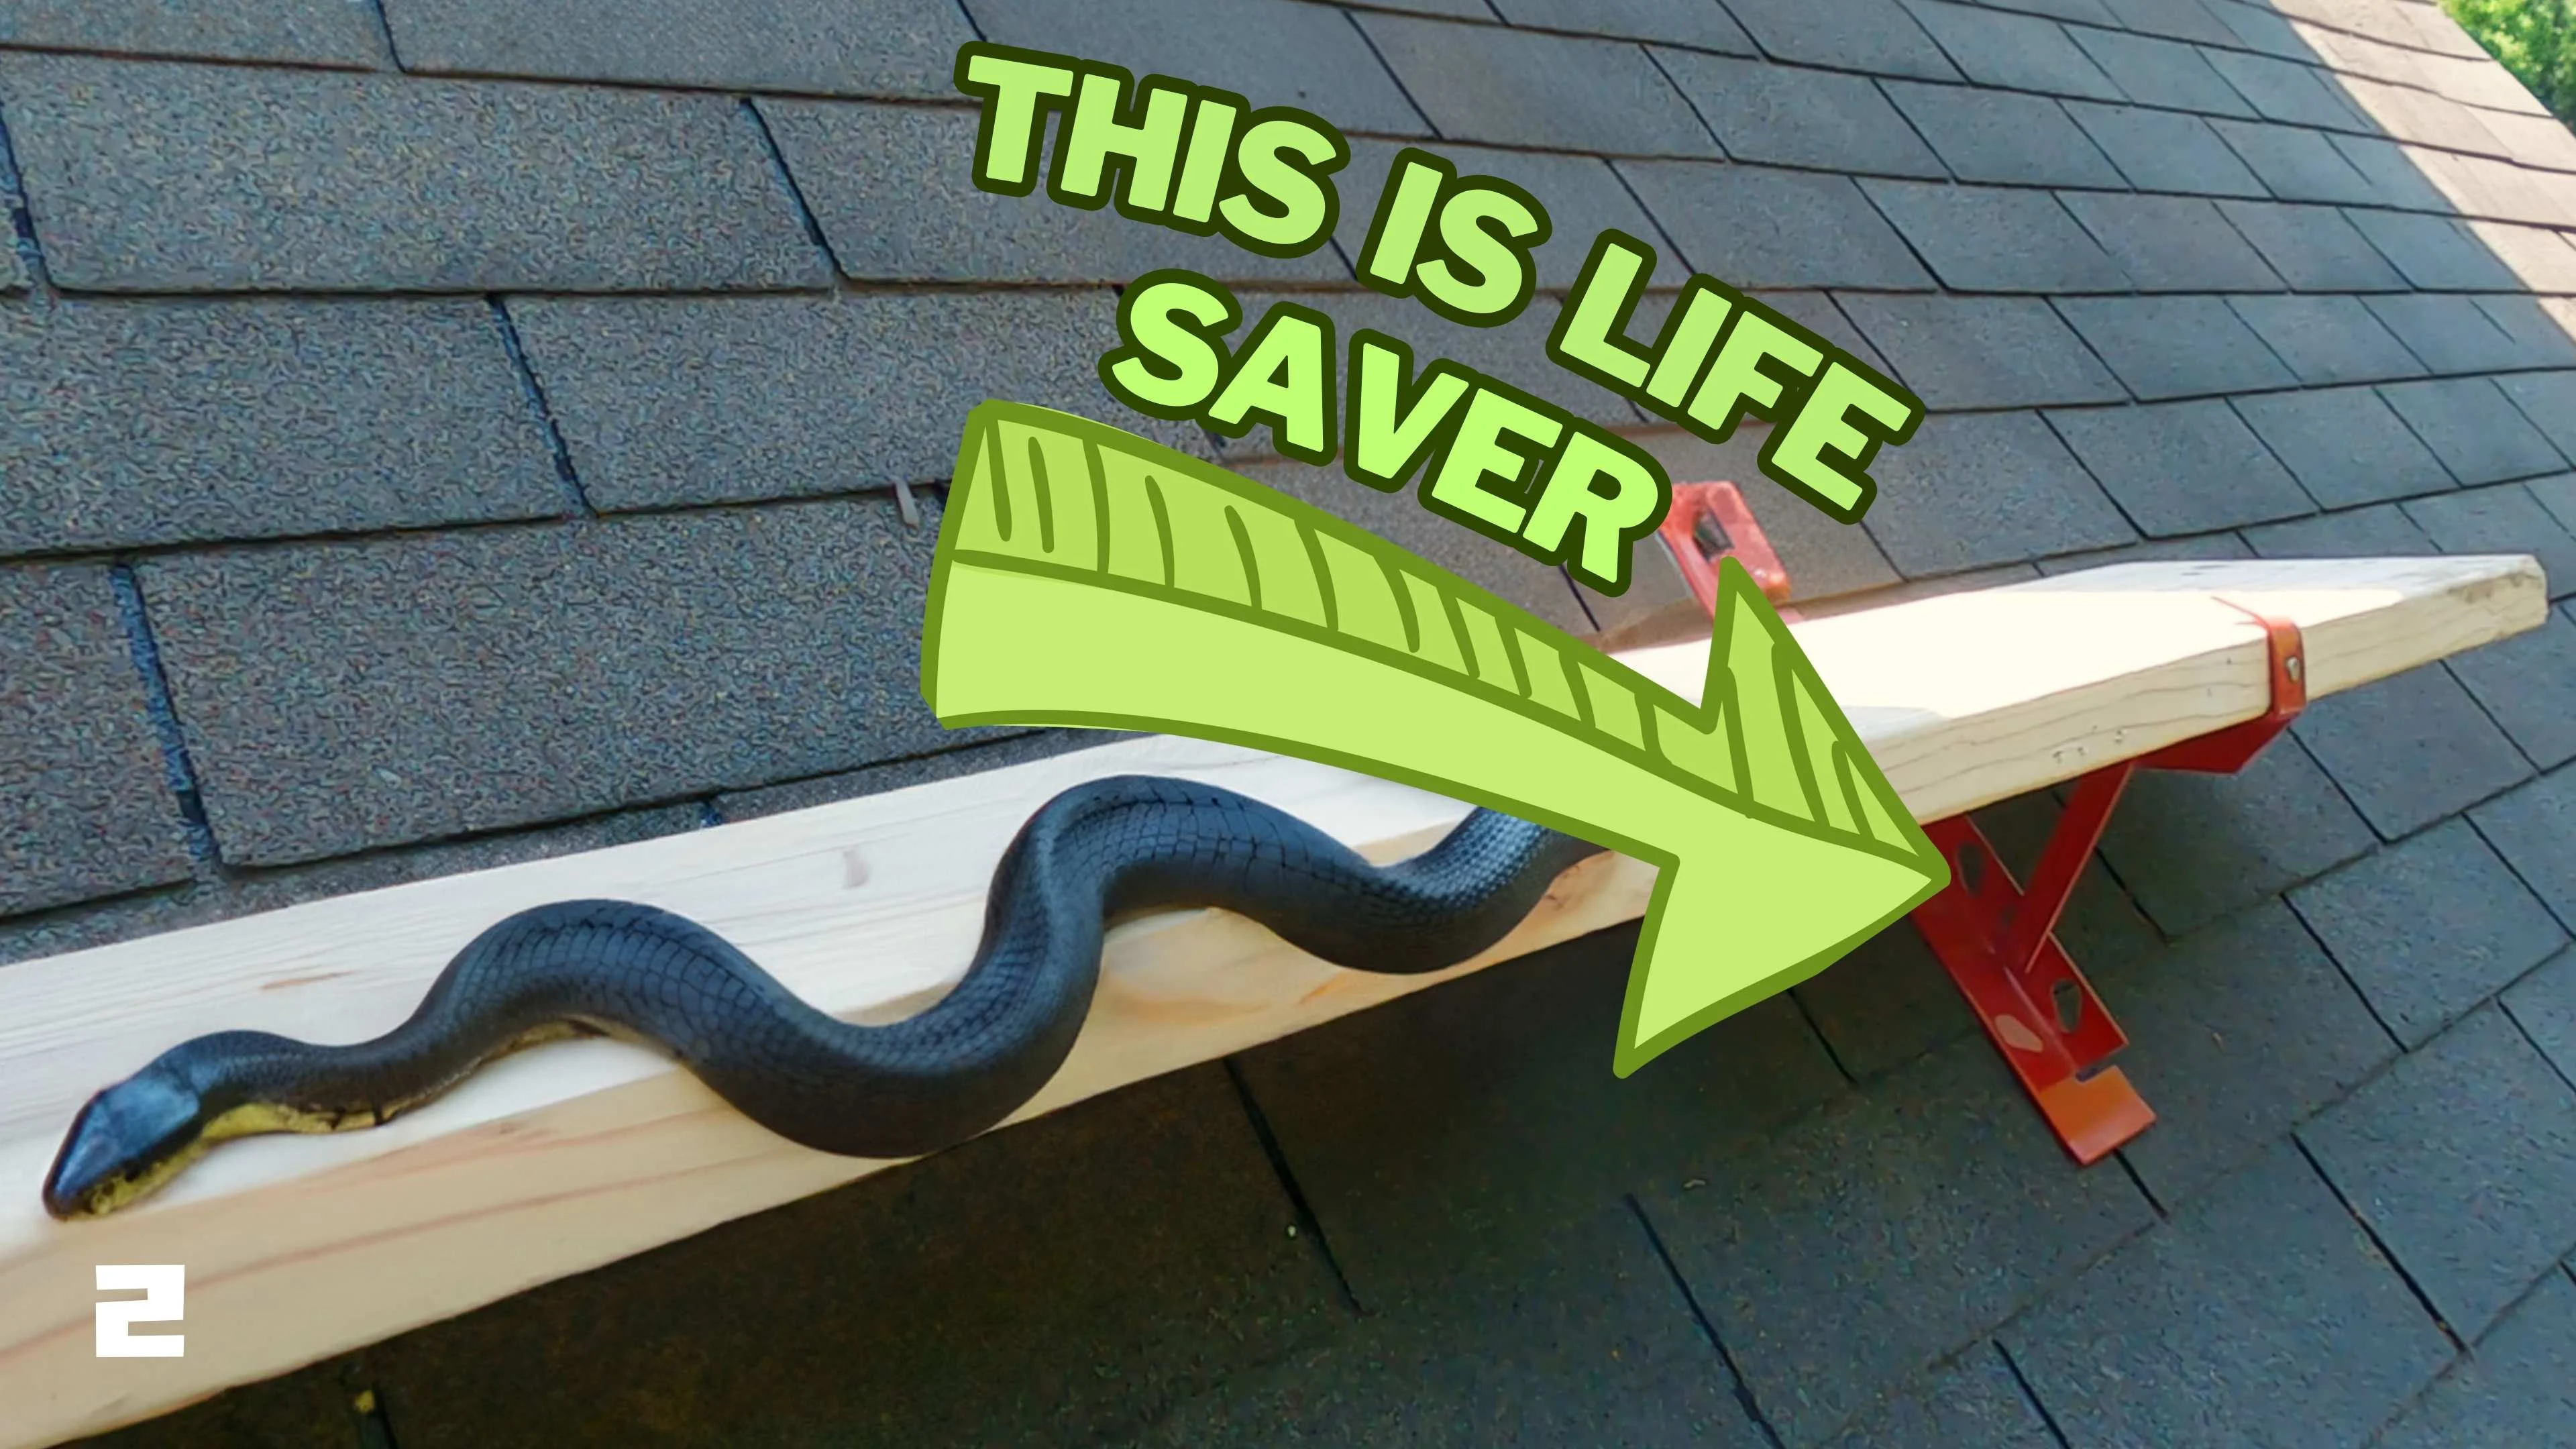

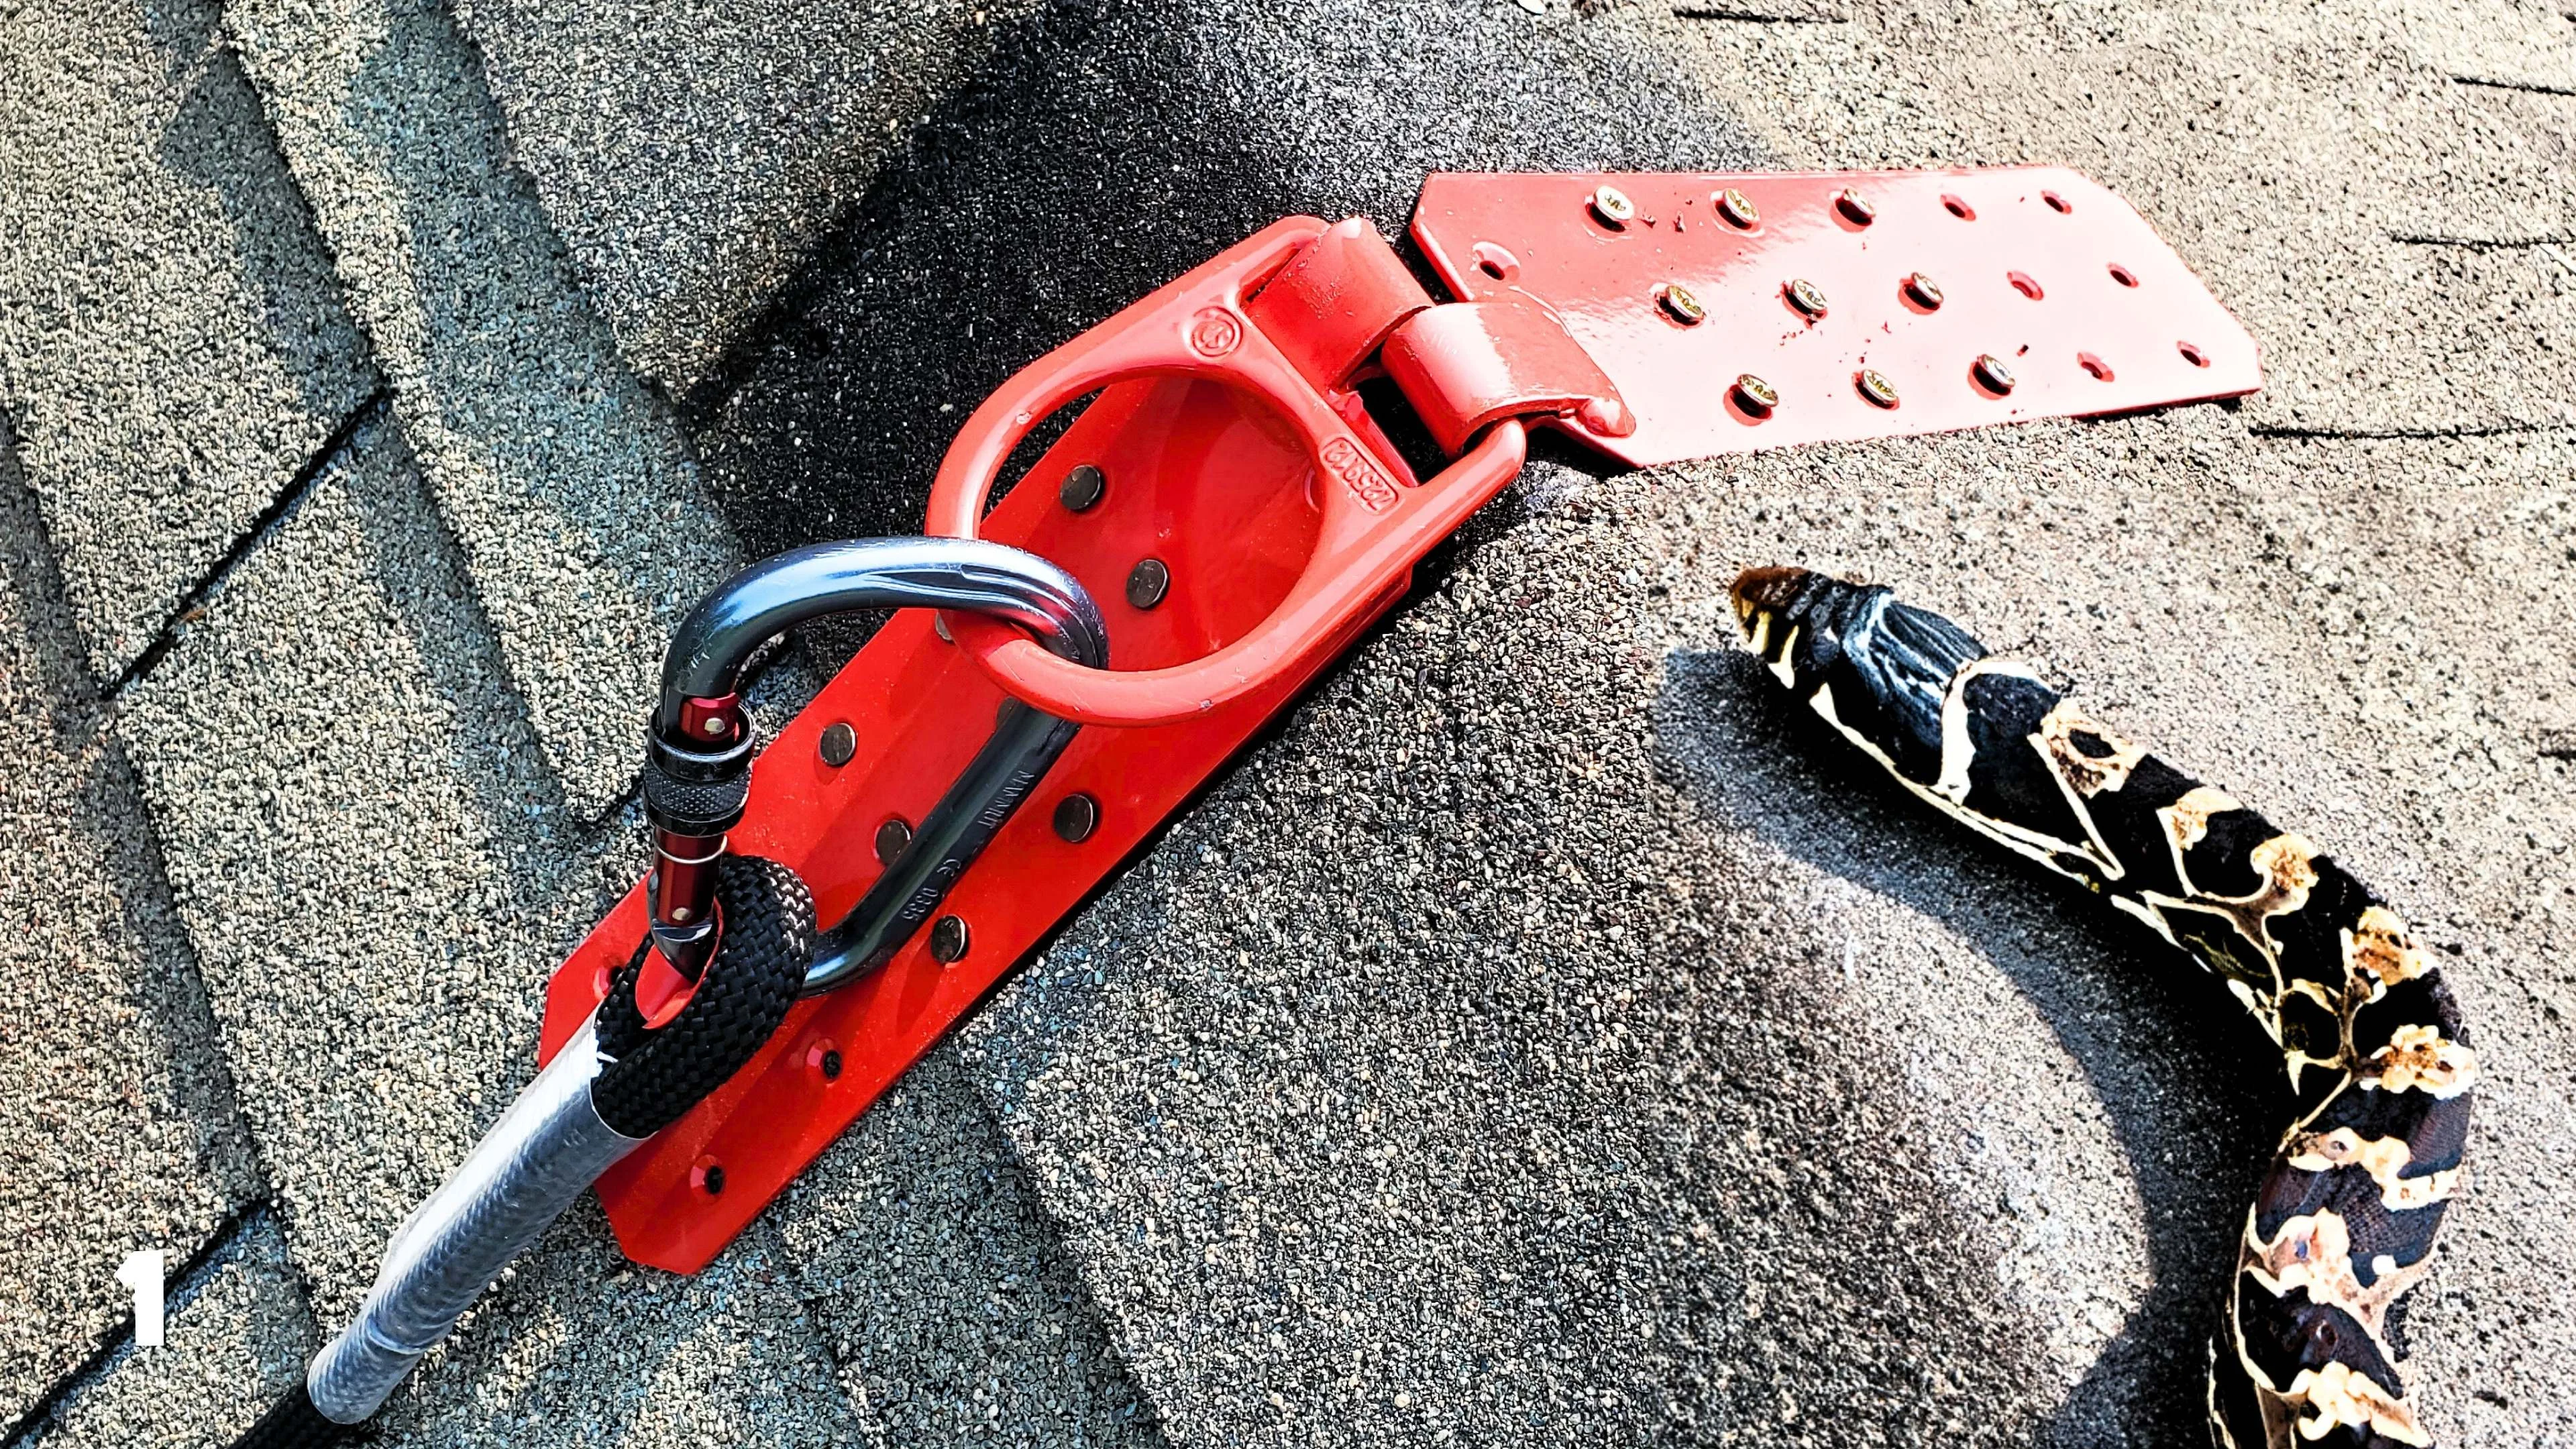
A temporary roof anchor is a fall-protection point installed on a sloped roof for the duration of a job — roofing, painting, gutter work, chimney repair — then removed once the work is done. Unlike permanent anchors left in place for future use, temporary anchors are meant for single-job installation and removal. Because this piece of equipment is what stops a fall, it has to be installed correctly every time, with no shortcuts.
Before You Start: Know the Stakes
A roof anchor is life-safety equipment. If it’s installed wrong — into the wrong framing member, with the wrong fasteners, or without full manufacturer compliance — it may not hold in an actual fall, which can result in serious injury or death. A few things to keep in mind before you begin:
- Only use anchors that are OSHA-compliant and rated for the fall-arrest system you’re using (check the manufacturer’s stated capacity, typically rated for 5,000 lbs per person minimum for fall-arrest anchors in the US).
- Follow the manufacturer’s installation instructions exactly — anchor designs vary, and generic instructions can’t account for every product’s specific requirements.
- If you have any doubt about your ability to identify structural framing, assess roof condition, or install correctly, hire a professional or a certified fall-protection installer. This is not the place to guess.
Tools and Materials You’ll Need
- Temporary roof anchor (OSHA-compliant, rated for fall arrest)
- Fasteners specified by the anchor manufacturer (often lag bolts or structural screws — do not substitute standard nails or undersized screws)
- Drill with appropriate bits
- Tape measure
- Stud finder or attic access for locating rafters
- Chalk line
- Torque wrench (if the manufacturer specifies fastener torque)
- Sealant (roofing-grade, for sealing around fasteners after installation)
- Full-body harness and lanyard/rope grab compatible with the anchor
- A second person to spot and assist
Step 1: Choose the Anchor Location
- Pick a location above and, ideally, centered relative to the work area, since you want to minimize swing-fall distance if a fall occurs.
- Confirm there’s enough roof height above the work zone to allow the fall-arrest system to fully deploy and stop a fall before the person hits the ground or a lower roof section — this is called fall clearance, and it depends on your harness, lanyard, and anchor height.
- Avoid placing the anchor near roof edges, valleys, or areas with existing damage.
Step 2: Locate the Rafter
This is the most critical step. A roof anchor must be fastened into structural framing (a rafter or truss), never just into roof decking or sheathing alone.
- From inside the attic, measure to find the exact rafter locations near your planned anchor point.
- Transfer those measurements precisely to the exterior roof surface — small errors here mean a critical miss on the actual framing member.
- Snap a chalk line or mark the spot clearly before you start lifting shingles.
- If attic access isn’t available, some anchor manufacturers provide a method for locating rafters from the exterior (such as probing at the ridge or eave for reference points) — follow that method exactly rather than guessing.
Step 3: Prep the Installation Point
- Lift the shingle or roofing material at the marked spot just enough to expose the deck without damaging the surrounding material.
- Confirm you can see or feel the rafter edge to fine-tune your fastener placement.
- Wipe away any debris so the anchor base will sit flat against the roof surface.
Step 4: Install the Anchor
- Position the anchor base directly over the rafter, aligned with the manufacturer’s mounting template if one is provided.
- Pre-drill pilot holes if specified by the manufacturer, using the exact bit size called for — oversized holes reduce fastener holding strength.
- Drive each fastener fully into the rafter, using the exact fastener type, length, and quantity specified by the manufacturer. Do not substitute shorter screws or fewer fasteners than specified, even if the anchor “feels” secure with less.
- If the manufacturer specifies a torque value, use a torque wrench to confirm each fastener is seated correctly — under-torqued fasteners can back out under load, and over-torqued fasteners can strip or split the rafter.
- Reposition the shingle or roofing material around the anchor base, following the manufacturer’s flashing or sealing instructions to keep the area watertight.
Step 5: Seal Around the Anchor
- Apply roofing-grade sealant around the anchor base and any exposed fastener heads to prevent water intrusion.
- Make sure the sealant doesn’t interfere with the anchor’s load-bearing connection point where your lanyard will attach.
Step 6: Test the Anchor Before Relying on It
- Before anyone works from the anchor, apply firm manual force in multiple directions to check for any movement, flex, or give.
- Visually confirm all fasteners are fully seated and the anchor base is flush against the roof.
- Have a second person double-check the installation independently — a second set of eyes catches mistakes that are easy to miss when you’ve been focused on the same task.
Step 7: Connect and Use the Fall-Arrest System
- Attach your lanyard or rope grab to the anchor point per your harness and anchor system’s compatibility requirements.
- Confirm your harness is properly fitted and all buckles are secured before starting work.
- Keep your fall clearance distance in mind throughout the job, especially if you move to a different section of roof mid-task.
Step 8: Removing the Temporary Anchor
- Once the job is complete and no one is connected to the anchor, lift the surrounding shingle again.
- Remove the fasteners carefully, supporting the anchor so it doesn’t drop or damage the roof.
- Inspect the fastener holes; seal them with roofing cement or replace the shingle if it was damaged during installation or removal.
- Press the roofing material back into place so it sheds water properly, and inspect the area again after the next rain to confirm the seal is holding.
Common Mistakes to Avoid
- Fastening into decking only, not framing — the single most dangerous mistake, since decking alone won’t hold fall-arrest loads.
- Using the wrong fasteners — substituting shorter, thinner, or non-structural screws undermines the anchor’s rated capacity.
- Skipping the manufacturer’s specific instructions — anchor systems are engineered as a whole unit; deviating from the specified installation voids the safety rating.
- Not accounting for fall clearance — an anchor installed too low relative to the work area may not stop a fall before the ground or a lower roof plane.
- Reusing an anchor rated for one-time use — some temporary anchors are rated for single fall-arrest events and must be replaced after any fall, even a minor one.
When to Call a Professional
- You don’t have confident access to the attic or another reliable way to locate rafters
- The job involves a steep pitch, a large crew, or extended work duration where a permanent or engineered anchor system may be more appropriate
- You’re unsure about compatibility between your anchor, harness, and lanyard components
- Local regulations require certified fall-protection installation for the type of work being done
Fall-protection equipment only works if every step is done right, every time. If you have any uncertainty about locating framing, following manufacturer specs, or your own equipment’s compatibility, it’s worth the cost of bringing in someone certified rather than treating this as a standard DIY project.
TOOLS USED IN VIDEO:
ROOF ANCHOR (USED INT THE VIDEO): https://amzn.to/4aNYxqD
METAL ROOF ANCHOR: https://amzn.to/3QuAeY3
ONE SIDE ROOF PERMANENT ANCHOR: https://amzn.to/4etXnBI
ENTIRE ROOFING SAFETY SYSTEM KIT WITH ANCHOR: https://amzn.to/4vfw5pX
ROOFING ROPE: https://amzn.to/4vUAbUs
PETZL ROPE ASCENDER (USED IN THE VIDEO): https://amzn.to/3QImyZw
MY FAVORITE TOOLS:
EVERYDAY WORKING GLOVES: https://amzn.to/3SNKHyl
SNAP UTILITY KNIVE: https://amzn.to/4uGgNt6 / BLADES: https://amzn.to/3QsZrlu
FOLDING UTILITY KNIVE: https://amzn.to/3QKmSXL / BLADES: https://amzn.to/3Q82u2D
FOLDING UTILITY KNIVE & SCRAPER: https://amzn.to/4viiNZV / BLADES: https://amzn.to/3Q82u2D
CARPENTER PENCIL: https://amzn.to/4uLLGwC
MAGNOGRIP MAGNETIC TAPE MEASURE HOLDER: https://amzn.to/4efD3oZ
BUCKET BOSS UTILITY POUCH: https://amzn.to/4gshCT1
TOUGHBUILT CLIPTECH POUCH: https://amzn.to/3ShQAUn
JUKMO TACTICAL BELT: https://amzn.to/4fTpOvu
PAINTING BRUSH: https://amzn.to/4wgUP1p / https://amzn.to/4xTh92L
PAINT ROLLER: https://amzn.to/4w0Przk / https://amzn.to/4ePMjQQ
BRUSH EXTENSION POLE: https://amzn.to/44gfTJb
BRUSH PAIL: https://amzn.to/43IEp5u / LINERS: https://amzn.to/4a79bZq